Appearance
v-for で商品を複数表示する
本章の概要とゴール
新しい商品が入荷したので、複数の商品を販売することになりました。 本章では、v-for ディレクティブを使って繰り返し表示することで、複数の商品を表示できるようにプログラムを改修していきます。 本章を実践すると、HTML の要素を増やさずに商品を複数表示することができるようになり、v-for の使い方を理解できます。
v-for の書き方
Vue.js では、配列からデータを取り出し、繰り返しで表示する、v-for というディレクティブが用意されています。
v-for ディレクティブは、 task in tasks のような構文で書きます。 tasks はデータを取り出す元の配列で、あらかじめ用意した配列の名前を指定します。 task は配列から取り出した 1 つ 1 つの値にアクセスするエイリアスで、任意の名前を指定します。
以下の例では script 内の tasks からデータを取り出し {{ task }} で表示しています。
html
<div id="app">
  <ul>
    <li v-for="task in tasks">{{ task }}</li>
  </ul>
</div>
js
const tasks = ref([
  'タスクA',
  'タスクB',
  'タスクC',
])
出力例
・タスクA
・タスクB
・タスクC
複数の商品をレンダリング
プロジェクトのファイルを書き換えて、複数の商品をレンダリングしていきましょう。src/App.vue ファイルを次のように変更します。
まずは、 script に表示したい商品を設定します。 item から items に変更し商品のオブジェクトを持つ配列にします。
変更前
vue
<script setup>
import { ref } from 'vue'
const item = ref({
    id: 1,
    name: 'アボカドディップバケット',
    description:
      '刻んだ野菜をアボカドと混ぜてディップに。こんがり焼いたバゲットとお召し上がりください。',
    price: 480,
    image: '/images/item1.jpg'
})
</script>
変更後
vue
<script setup>
import { ref } from 'vue'

const items = ref([
  {
    id: 1,
    name: 'アボカドディップバケット',
    description:
      '刻んだ野菜をアボカドと混ぜてディップに。こんがり焼いたバゲットとお召し上がりください。',
    price: 480,
    image: '/images/item1.jpg'
  },
  {
    id: 2,
    name: 'あの日夢見たホットケーキ',
    description:
      '子供のころに食べたかった、あのホットケーキを再現しました。素朴でどこか懐かしい味をどうぞ。',
    price: 1180,
    image: '/images/item2.jpg'
  },
  {
    id: 3,
    name: 'HOP WTR',
    description:
      'ロサンゼルス生まれのスパークリングウォーター。ノンカロリー、ノンアルコールの新感覚飲料です。',
    price: 320,
    image: '/images/item3.jpg'
  },
  {
    id: 4,
    name: 'チーズフレンチフライ',
    description:
      'イタリア産チーズをたっぷりかけたアツアツのフレンチフライ。みんな大好きな一品です。',
    price: 670,
    image: '/images/item4.jpg'
  }
])
</script>
次に、 v-for を用いて、各商品の「名前(name)」、「説明(description)」、「価格(price)」、「画像(image)」を繰り返し表示します。
変更前
vue
<template>
  <header class="header">
    <img
      src="/images/logo.svg"
      alt="">
    <h1>Vue.js ハンズオン</h1>
  </header>
  <main class="main">
    <div class="item">
      <div class="thumbnail">
        <img
          :src="item.image"
          alt="">
      </div>
      <div class="description">
        <h2>{{ item.name }}</h2>
        <p>{{ item.description }}</p>
        <span>¥<span class="price">{{ item.price }}</span></span>
      </div>
    </div>
  </main>
</template>
変更後
vue
<template>
  <header class="header">
    <img
      src="/images/logo.svg"
      alt="">
    <h1>Vue.js ハンズオン</h1>
  </header>
  <main class="main">
    <template
      v-for="item in items"
      :key="item.id">
      <div class="item">
        <div class="thumbnail">
          <img
            :src="item.image"
            alt="">
        </div>
        <div class="description">
          <h2>{{ item.name }}</h2>
          <p>{{ item.description }}</p>
          <span>¥<span class="price">{{ item.price }}</span></span>
        </div>
      </div>
    </template>
  </main>
</template>
同時に指定している key 属性は、 v-for で取り出した各要素を一意(ユニーク)にするために推奨されているものです。一意にすることで、 Vue.js が要素の再利用や並び替えをする手助けになります。 詳細は Vue.jsドキュメントガイド key による状態管理を参照してください。
ヒント
v-for を使った template タグは DOM 要素としてレンダリングされません。
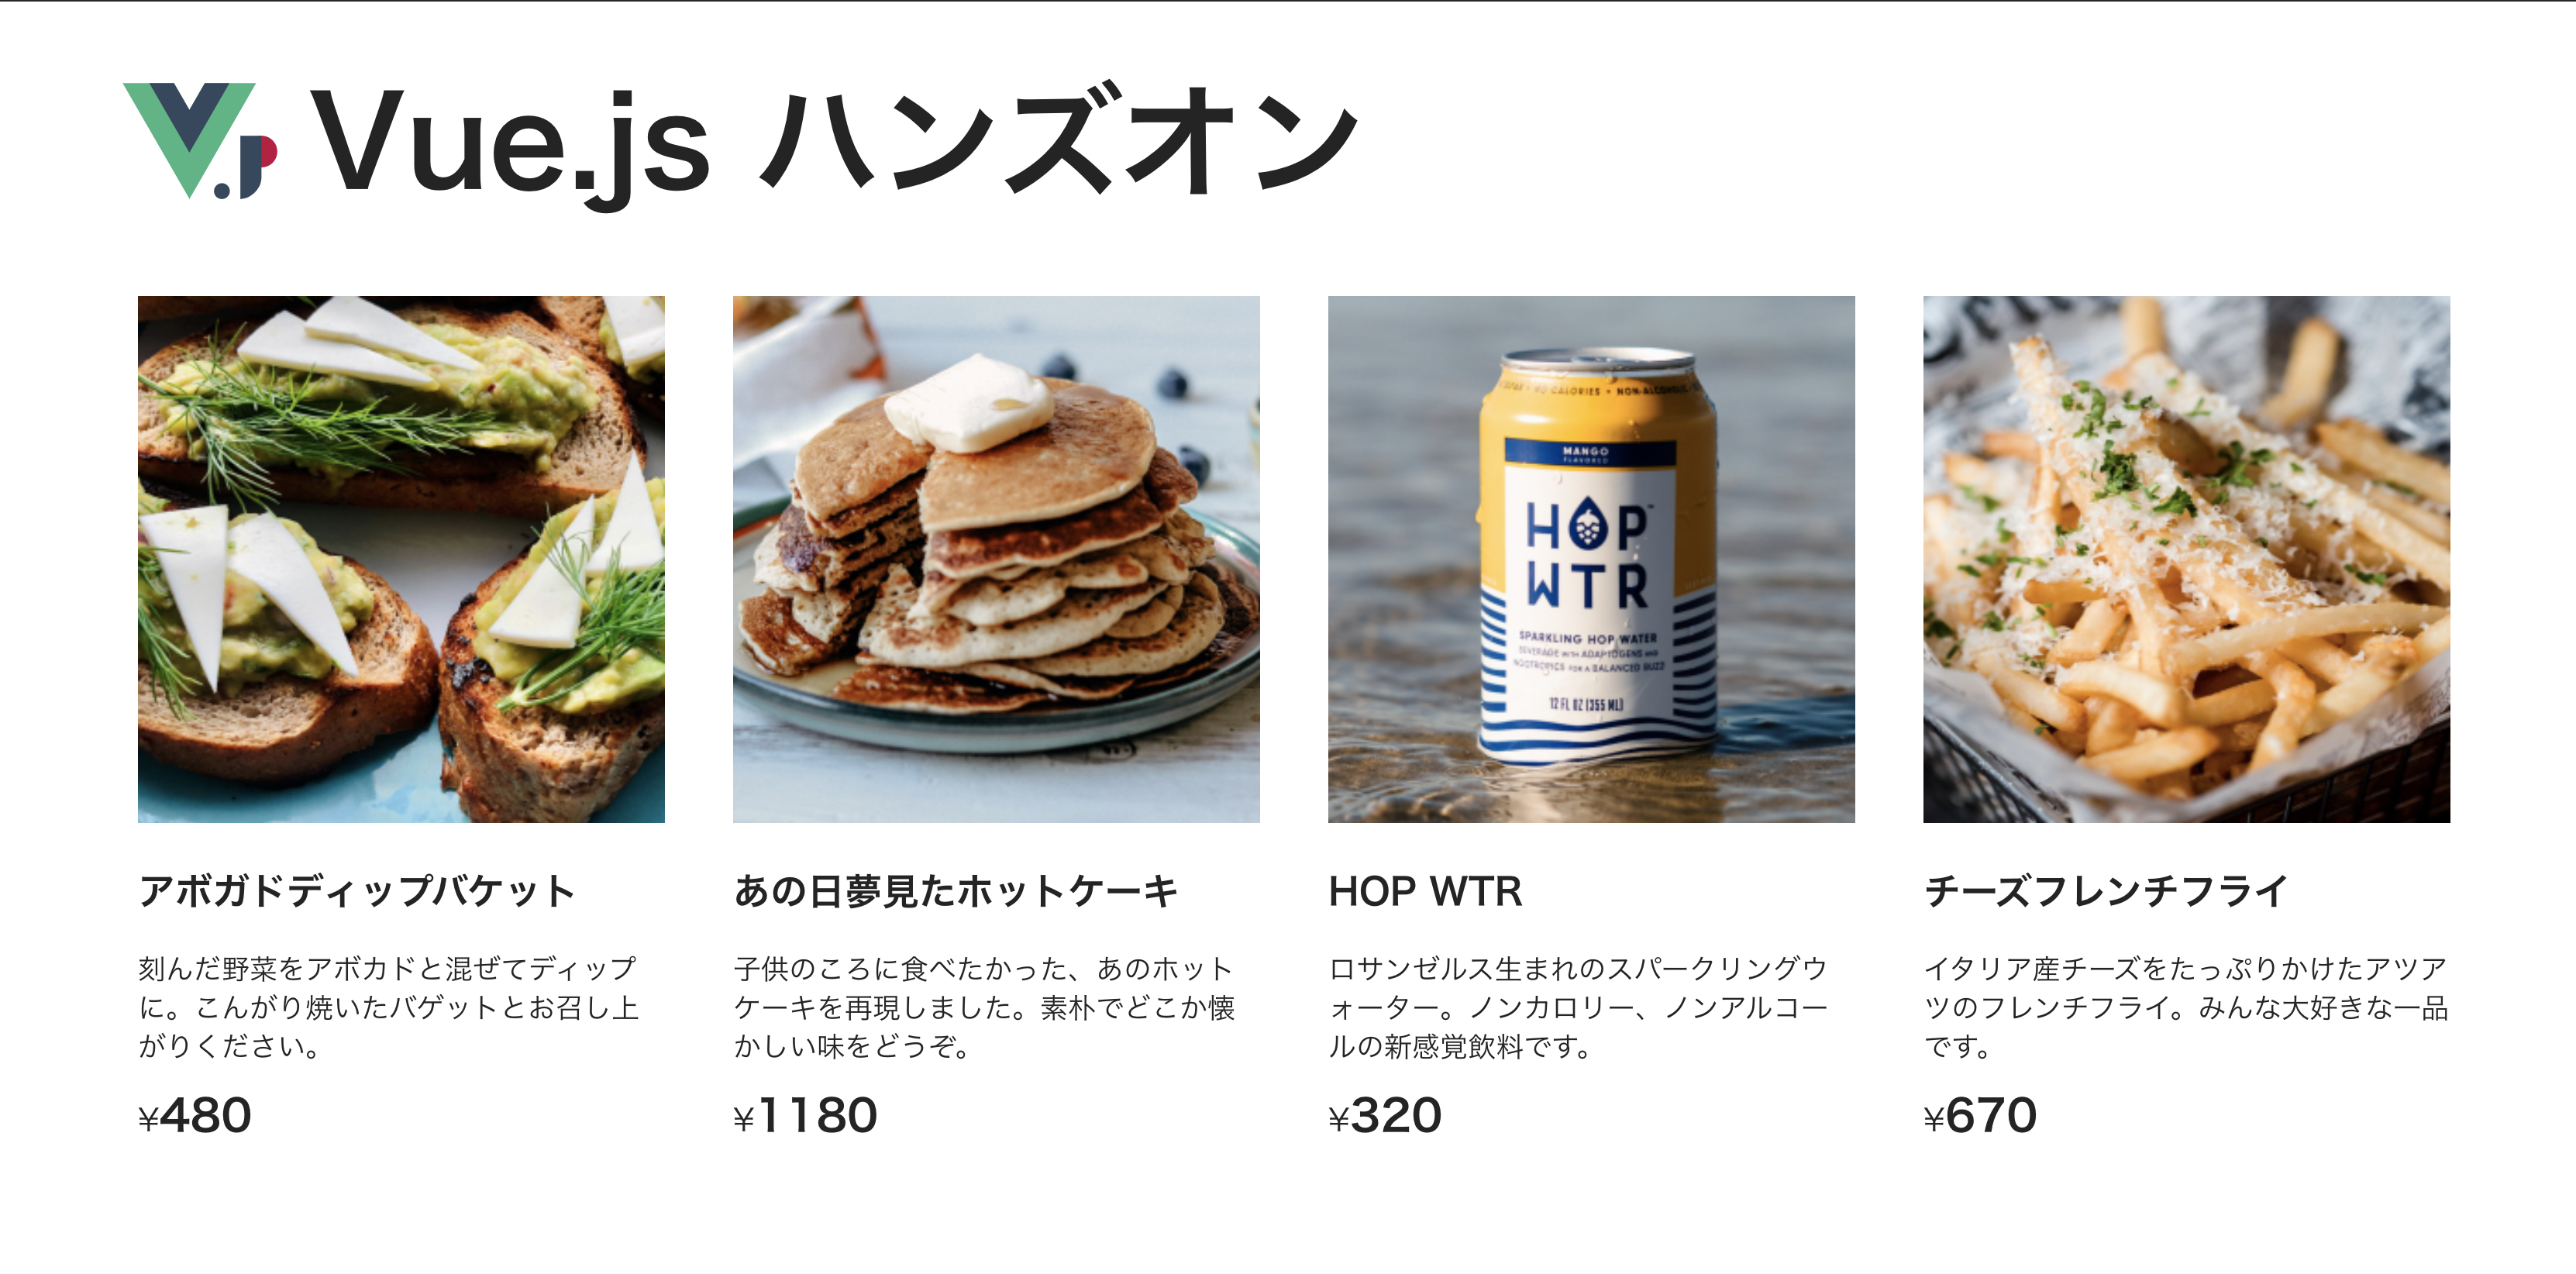
このように v-for を使うことで、以下のように商品を複数レンダリングできるようになりました。
+1 チャレンジ
ここまでの学習が完了した人は、以下の内容にも挑戦してみましょう。
v-for の index と注意点
以下のように、 v-for で配列のインデックスを取り出せます。
html
<div id="app">
  <ul>
    <li v-for="(task, index) in tasks">{{index}} , {{ task }}</li>
  </ul>
</div>
js
const tasks = ref([
  'タスクA',
  'タスクB',
  'タスクC',
])
出力例
・ 0 , タスクA
・ 1 , タスクB
・ 2 , タスクC
注意
v-for の key に v-for の index を使うことはできますが、要素の再利用や並び替え時に問題が発生するため非推奨です。
オブジェクトの v-for
データの取り出し元に、オブジェクトを使うことも可能です。以下の例では、オブジェクトの key と value を順番に取り出して表示しています。
html
<div id="app">
  <ul>
    <li v-for="(value, key) in tasks">{{ key }} , {{ value }}</li>
  </ul>
</div>
js
const tasks = ref({
    taskA: 'タスクA',
    taskB: 'タスクB',
    taskC: 'タスクC',
})
出力例
・ taskA , タスクA
・ taskB , タスクB
・ taskC , タスクC
オブジェクトの key と value に加えて index を表示することもできます。
html
<div id="app">
  <ul>
    <li v-for="(value, key, index) in tasks">{{index}} , {{key}} , {{ value }}</li>
  </ul>
</div>
js
const tasks = ref({
    taskA: 'タスクA',
    taskB: 'タスクB',
    taskC: 'タスクC',
})
出力例
・ 0 , taskA , タスクA
・ 1 , taskB , タスクB
・ 2 , taskC , タスクC